Difficulty: Confident Beginner or Easy
Description:
This pattern was designed to be a quick project that can be made with scraps of yarn, because I wanted something to compliment the ComplicatedKnots Skull pattern which you can find here: https://www.ravelry.com/patterns/library/skull-10 In other words, I wanted a boneyard to go with my Dark Brotherhood gamer decor which you can find out more about here: https://artofladyseshiiria.blogspot.com/2026/03/the-five-children-of-sithis-and-night.html Using the same pattern from ComplicatedKnots mentioned above.
Gauge really shouldn’t matter on this project because everyone's tension is different and I tested both tight and loose tensions, nor should yarn weight or hook size matter. For my tutorial I will be using worsted weight yarn and a 4.5mm sized crochet hook though. If you are using a larger weight yarn expect there to be more yarn consumption though.
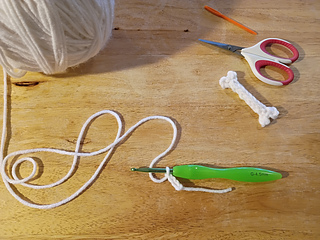
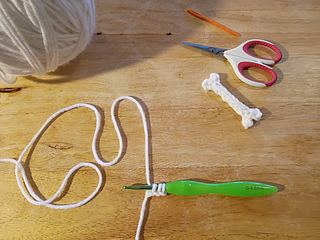
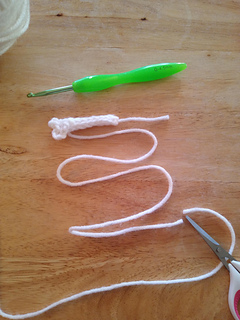
I did this pattern two different ways, so depending on what works best for you you might choose one or the other. Version 1 has more sewing because this was my prototype for version 2, but I ultimately kept it because I know some folks might like the choice to piece meal or all in one this project depending on what they might use it for. Images proceed in order after the written pattern to give you an idea of how it should progress.
Copyright:
Copyright 2026 LadySeshiiria for pattern, photos, and instructions.
You may use this free pattern for personal use only. Mass production is prohibited. You may not copy, edit, sell, reproduce, or redistribute this pattern, its photos, or instructions. AI and NFT are strictly forbidden and prohibited. Selling your finished creations and sharing is welcome though, as long as it credits the original artist and links back to source. Thank you for respecting your fellow artists and crafters.
Disclaimer:
As an independent artist and hobbyist, I cannot guarantee that my patterns are free of defects, mistakes, or technical issues. All my crochet patterns are free-form play and note taking, tested by me several times, and then shared. Everything is made to the best of my ability without the use of a professional team or commercial pattern-making software. If there are mistakes feel free to email me or leave a comment for help or clarifications. I will strive to make corrections when needed for ease of use. Thank you for understanding.
Abbreviations:
I-Cord = Crochet Variant, not the knitted variant. If you don’t know what an I-cord is there are tons of great tutorials on Youtube.
Picot = Usually a chain 3 and slip stitch into the 3rd stitch from the hook, or where pattern asks.
sl-st = Slip Stitch
F.O. = Finish Off
Supplies:
- Any Sized Hook
- Any Weight Yarn
- Yarn Needle
Instructions:
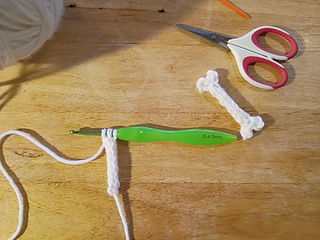
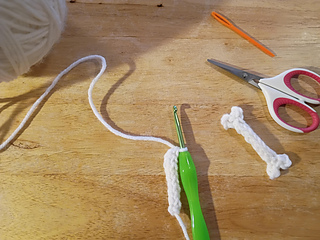
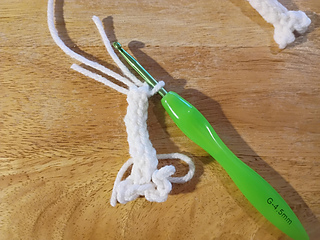
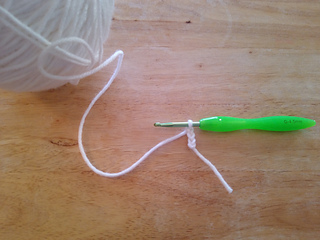
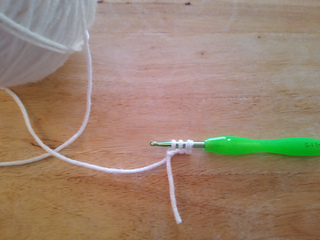
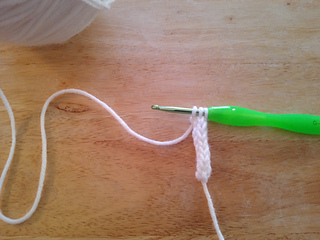
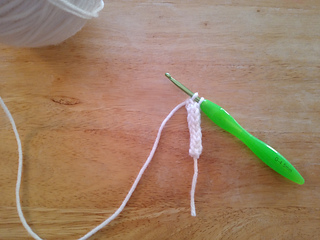
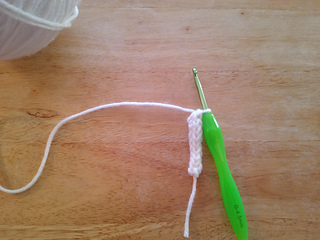
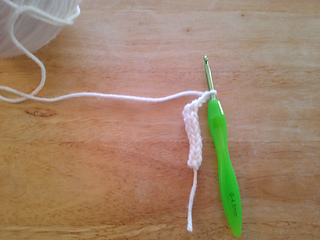
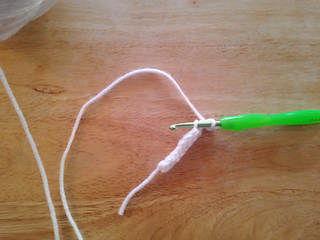
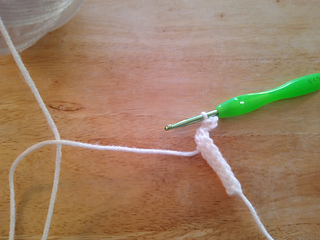
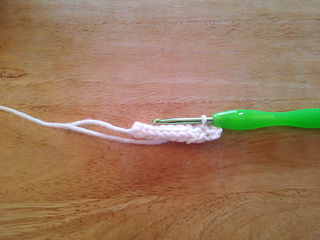
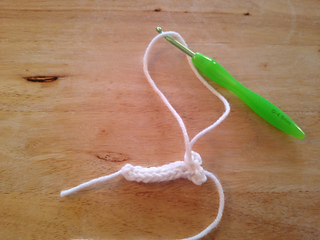
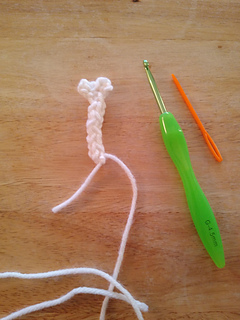
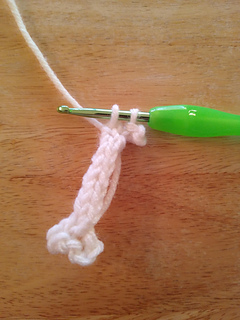
I-cord Basics: Ch3, Insert hook into second ch st from the hook, yo and draw up a loop, insert hook into next ch st, yo and draw up another loop. There should be three loops on the hook now. *Drop two sts from hook, holding onto them with your non hook hand, yo and draw up a loop, then insert into 1st dropped st, yo and draw up a loop, last insert hook into last st and yo and draw up a loop. This completes a row.
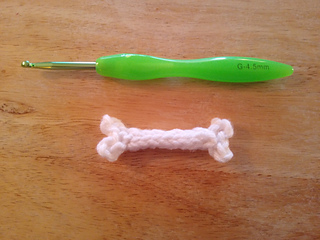
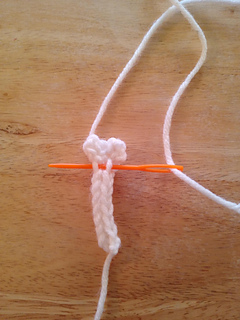
(Version 1 Above)
Version 1: More Sewing Involved - Inefficient Method
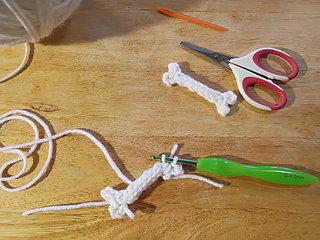
Ch3 and start I-cord. I-cord for 7 Rows, sl-st only two loops, then sl-st last two loops on the hooks. Ch3, sl st into the 3rd ch from the hook, sl-st into the 1st st you sl-st into previously ending I-cord, ch3, sl-st into same stitch you sl-st previously. F.O.
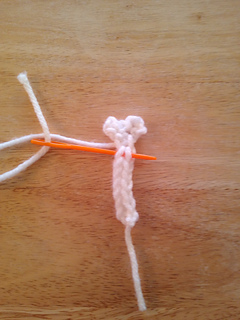
On the other end: Attach yarn to 1st ch stitch, ch3, sl st into 3rd ch from hook, sk-st, sl-st into 3rd ch st, ch3, sl-st into same base ch-sp, F.O.
Weave in all ends.
Tip: if you cut a long enough tail you can use it to f.o. and stitch up the back of the bone to the other end and crochet the other end.
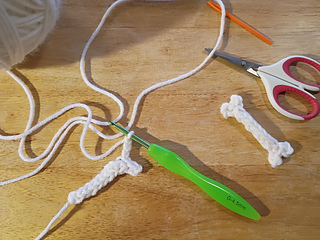
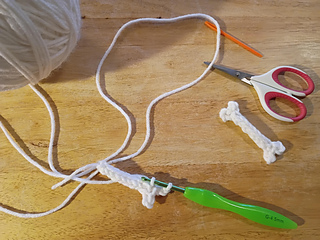
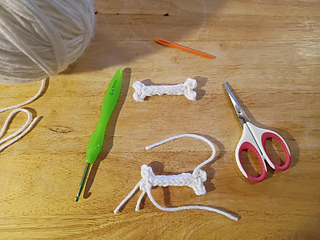
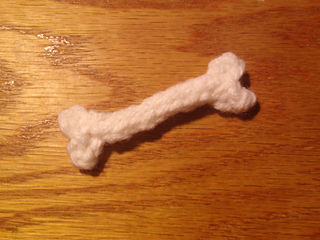
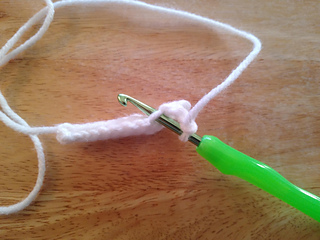
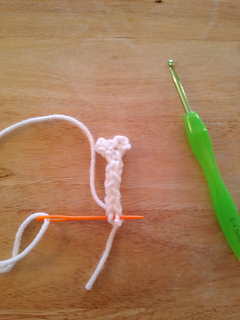
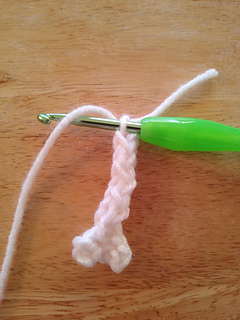
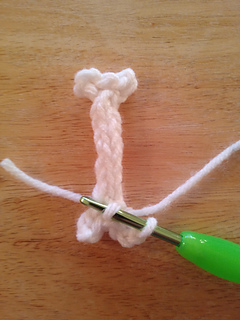
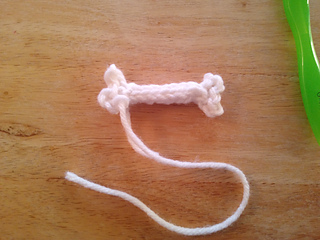
(Version 2 Above)
Version 2: All In One Crochet and Sew
Ch3 and start I-cord. I-cord for 7 Rows, sl-st only two loops, then sl-st last two loops on the hooks. Ch3, sl st into the 3rd ch from the hook, sl-st into the 1st st you sl-st into previously ending I-cord, ch3, sl-st into same stitch you sl-st previously.
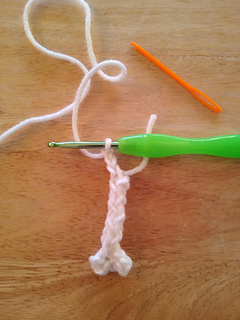
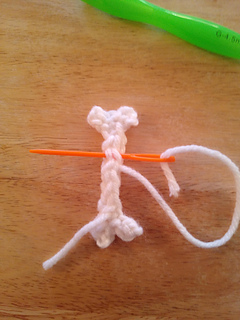
Stop and pull enough length of yarn for the next part. You don’t need too much. I measured about five to six times the length of the crochet piece. Pull tail completely through and then using a yarn needle, weave in the tail through the backside of the work where the I-cord isn’t completely closed until you reach the other side.
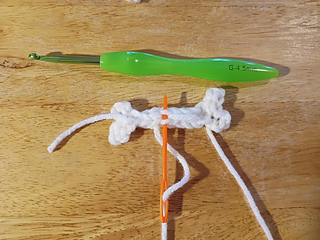
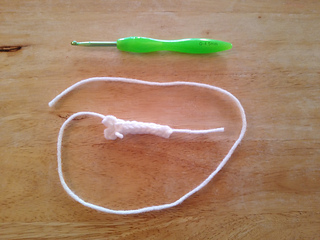
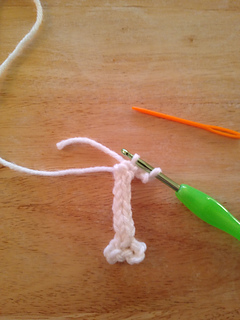
Next on the other end, pull yarn to 1st ch stitch and create a loop, with your hook continue on with ch3, sl st into 3rd ch from hook, sk-st, sl-st into last ch st, ch3, sl-st into same base ch-sp, F.O.
Weave in remaining end.


I can see so many possibilities for either one of these patterns. For one I think it would be cool to see it on a hoodie drawstring. Also for anyone interested, you may use this to build your own patterns, just please credit me and this link if you use this. That's all I ask. I want to actually see what people do with this pattern, please build upon it and tag me, or send me an email. This is where the magic of innovation comes in! Have fun guys. Love you.


No comments:
Post a Comment
Please make sure to follow terms of service while you are here. Anything you share is visible to others online and I cannot control how others use your information, always be mindful of Internet safety. No bigotry, harassment, spam, solicitation, disingenuous, or bad faith engagement will be tolerated here and comments will be moderated to protect this space for other readers or users. Thank you for your understanding and cooperation as we hope to create a healthy space for everyone.
If you have questions or would just like to comment, feel free to respond below. I will try to respond to the best of my abilities as soon as I am able, thank you again.